Getting started
If the app is not installed yet, Follow the install guide to get it running.
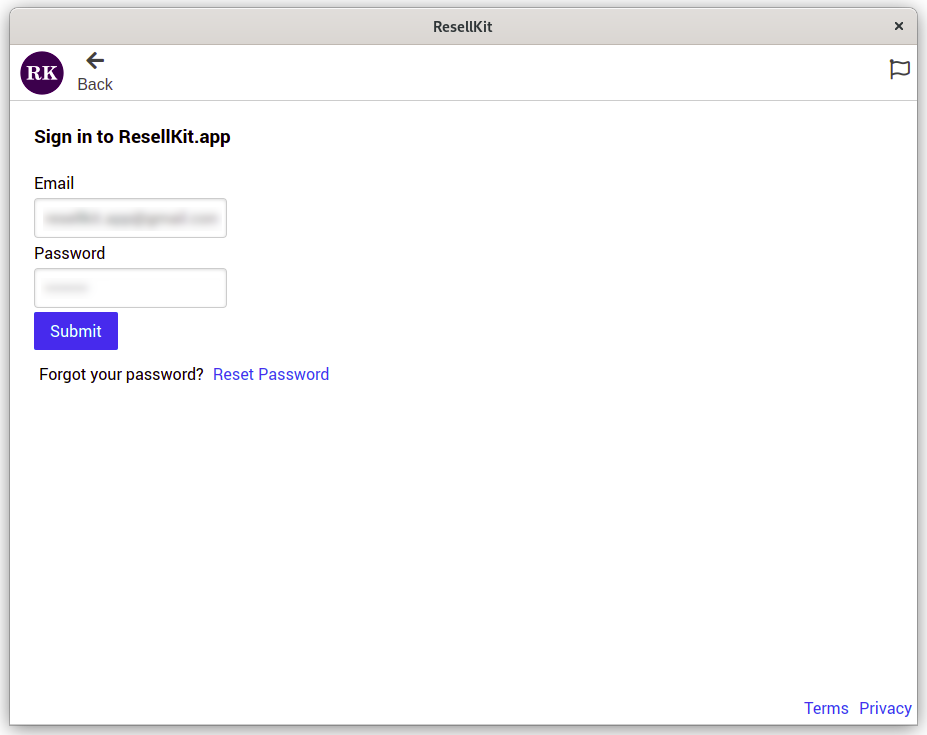
Sign up/in
If you don't have an account on the resellkit.app website, Sign up. Otherwise use sign in with your account on the RK app.
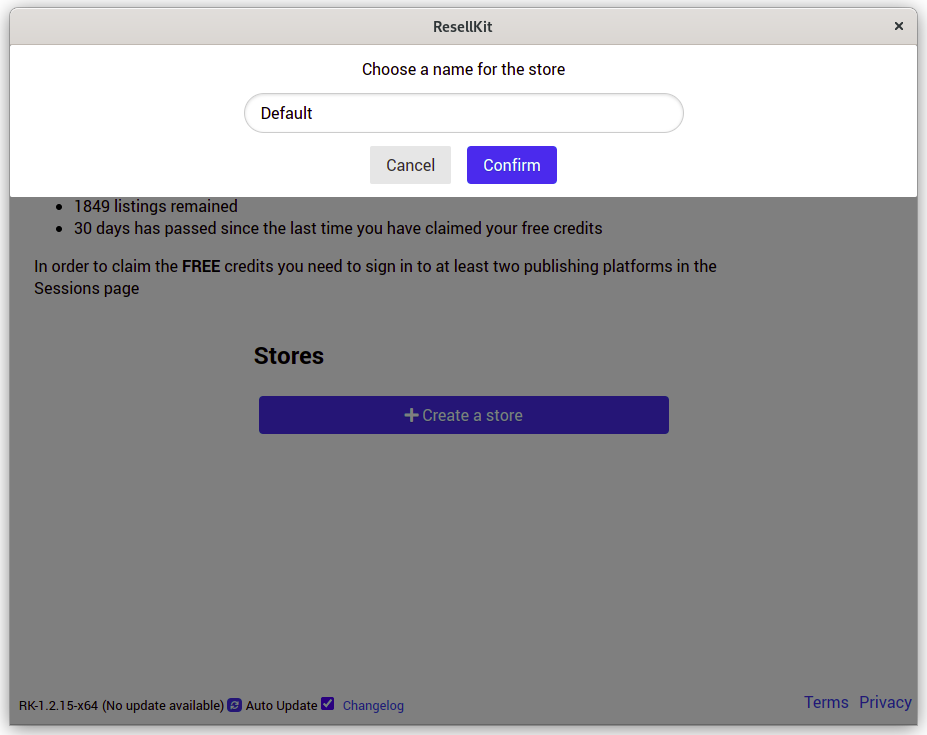
Create a store
RK allows users to create and manage multiple stores independently, When the app starts for the first time, It will ask you to choose a name for creating the first store. You can leave the store's name to be "Default", It's optional. Click on "Confirm" to create the store.
Open sessions
Before you can start cross-listing, You need to sign in to at least two of the supported platforms. Please open up the Sessions page from the top menu and sign in or authorize in the case of eBay.
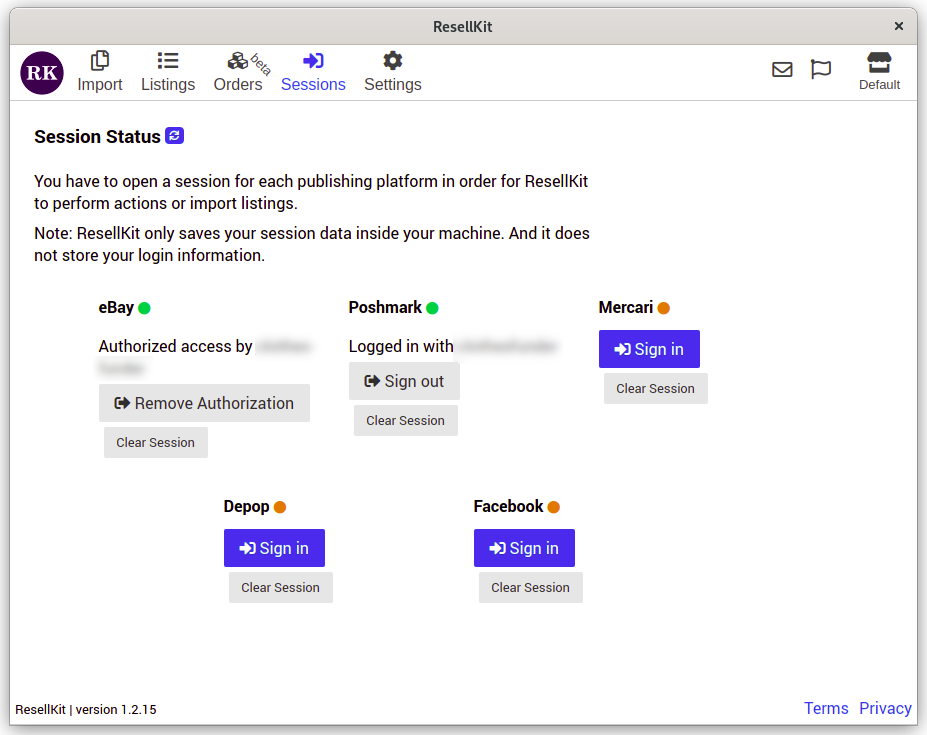
The app will not send your login information to any servers online. No login information is stored anywhere. And the session's data is stored locally in your computer.
The free credits should get added to your account once you have signed in to at least two platforms. Note. You won't be able to claim the free credits if you have already claimed it earlier with any other account.
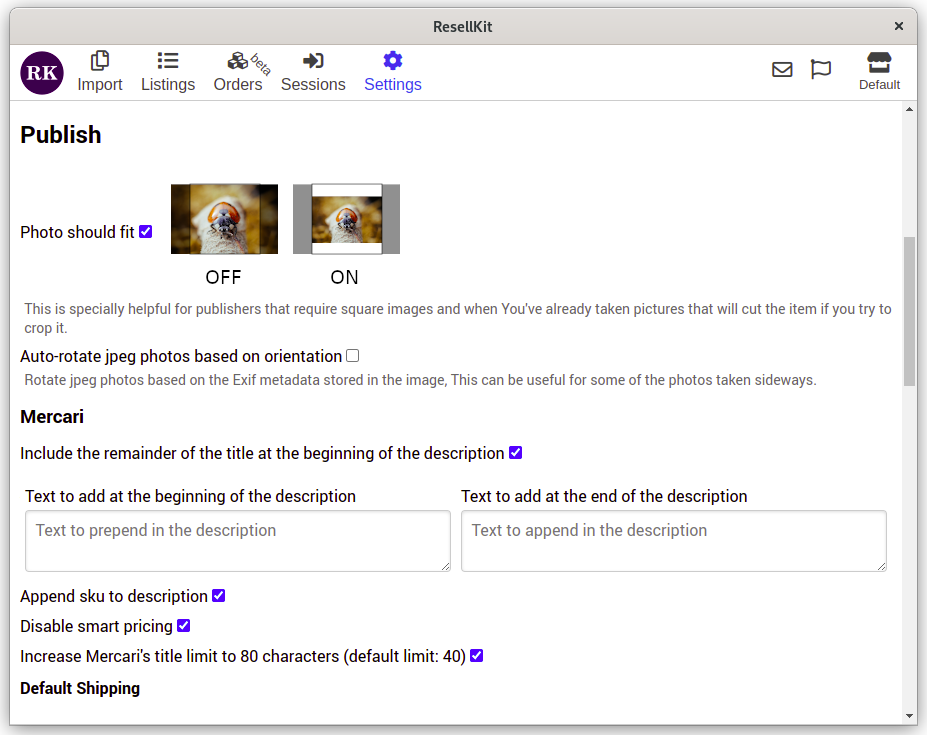
Initial publish settings
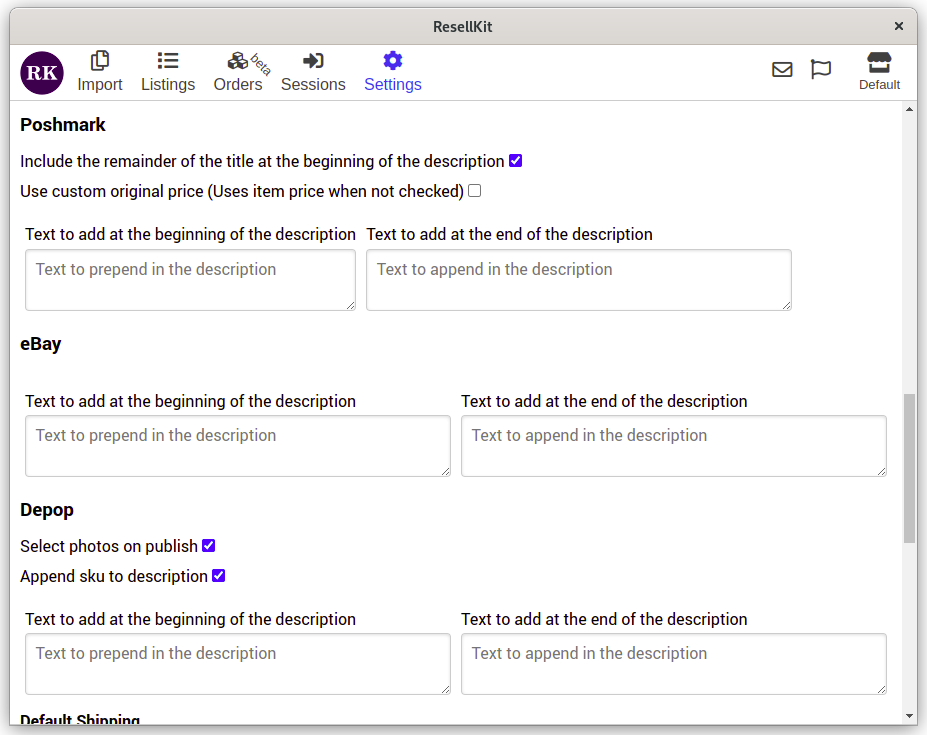
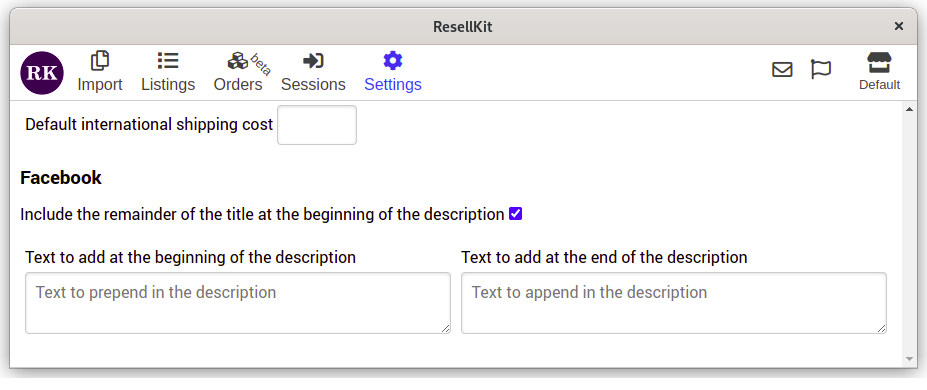
Open the Settings page & set your preferences for the publish feature. Notable parameters are the following.
- Photo should fit, It is useful for platform
- Include the remainder of title to description, You have set this one for each platform.
- Append sku to description, Which will add the item's SKU to the end of the description. It is very useful if you have a unique sku for each of your items.
- Select photos on publish, This one is only for depop. Since depop has the limit of 4 photos for each listing. By checking this box. You'd be able to select which photos to get uploaded.
Note. Publishing for each platform has its own section. Make sure you have set the preferences for all the ones you want to publish to.
Start cross-listing
The usual process is to open up the Import page, And choose a source platform where your listings are already published, And then choose the other platforms you would like to cross-list the listings.
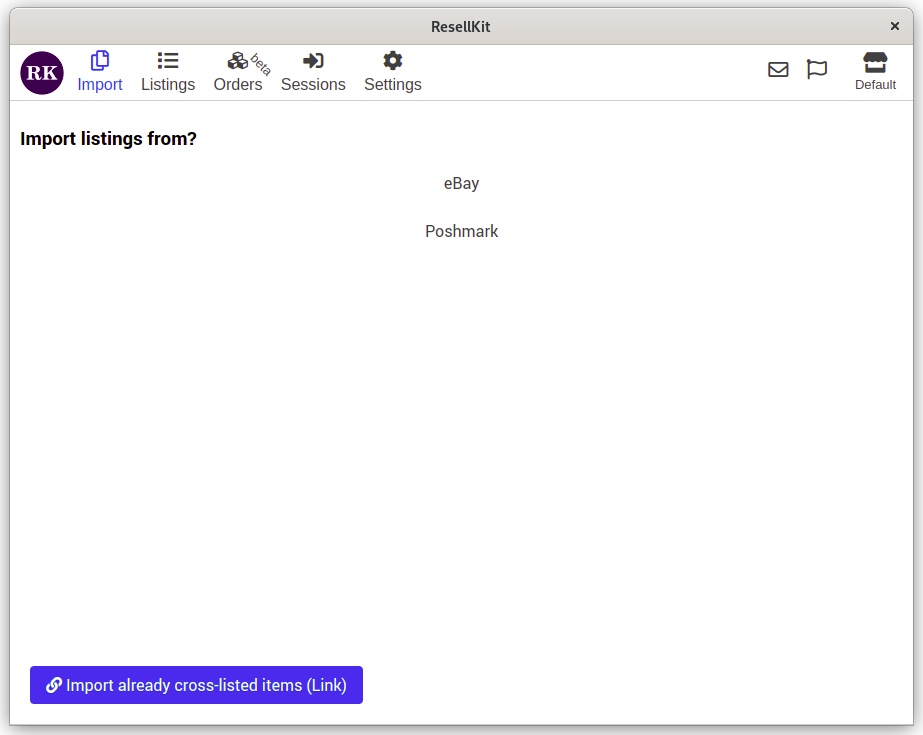 Note. The highlighted platforms have a blue border.
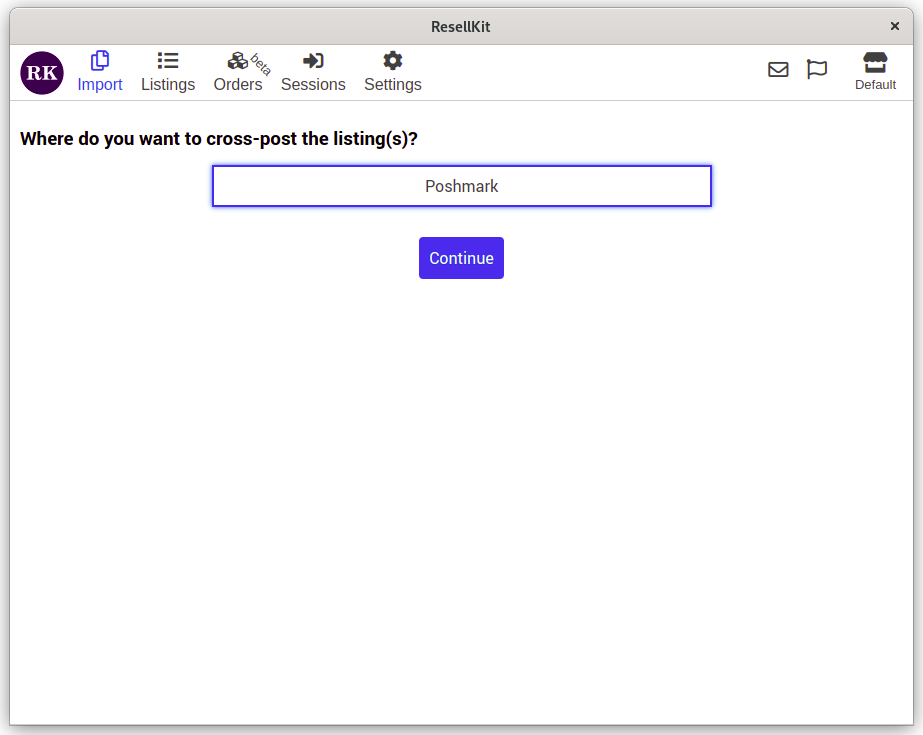
Then choose the listings you want to import. You can use the search box to filter listings by their title. And clicking on the items will toggle the selection for that item. On top right you can see how many items are selected.
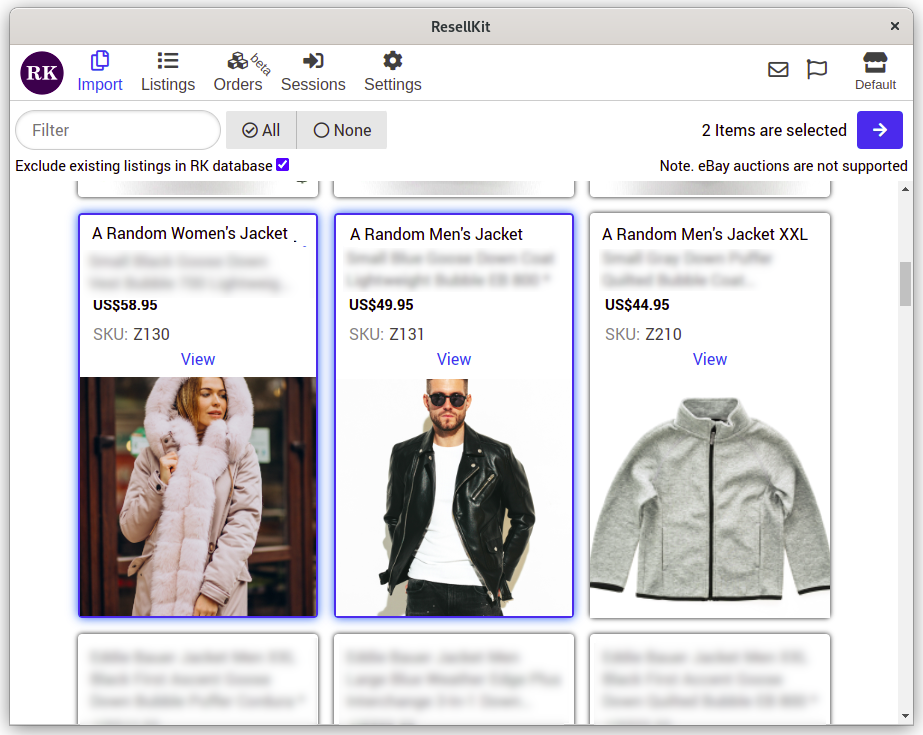
By default the app filters out already imported listings. And it loads only a sub set of listings at a time. However, By scrolling to the bottom of the page. It will load more entries. Or you can also write some random text on the search box to force the app to load more and more entries until it loads all of your active listings on that platform.
When the import process ends, You will get redirected to the Publish Drafts page to review and list all selected items.
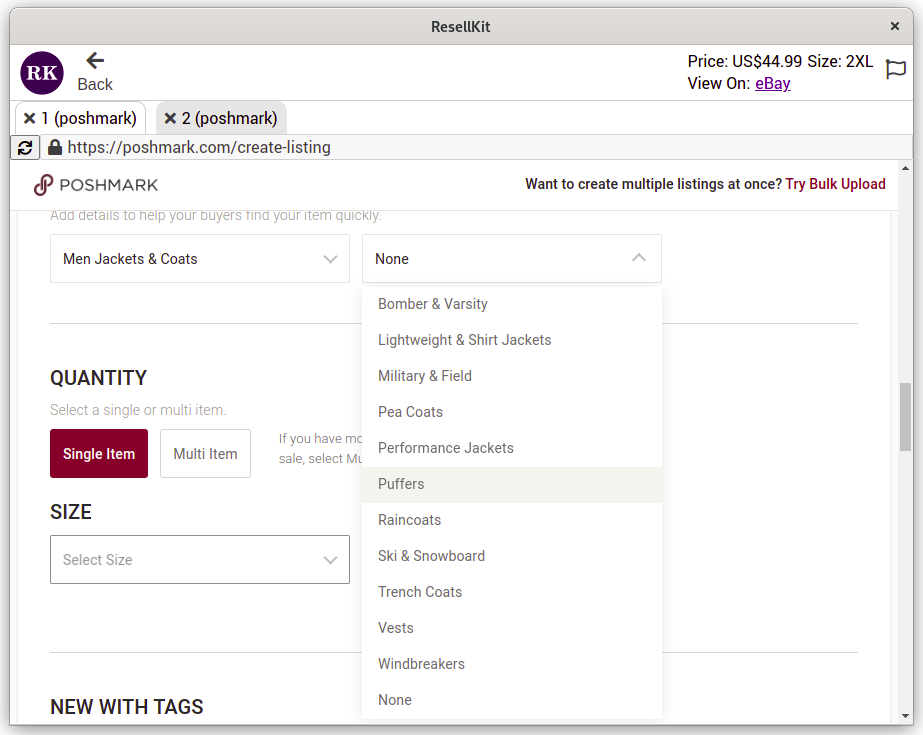
The publish process will go through every draft listing and once the process is over you will get redirected to the Listings page with a Done! message.
Note. Sometimes the publish process may get interrupted. Or you want to continue the process on later time. You can do so by clicking on the Publish Drafts button on the Listings page. It will open up the Publish Drafts page again so you can go through the rest of draft listings.

Cloud Backup
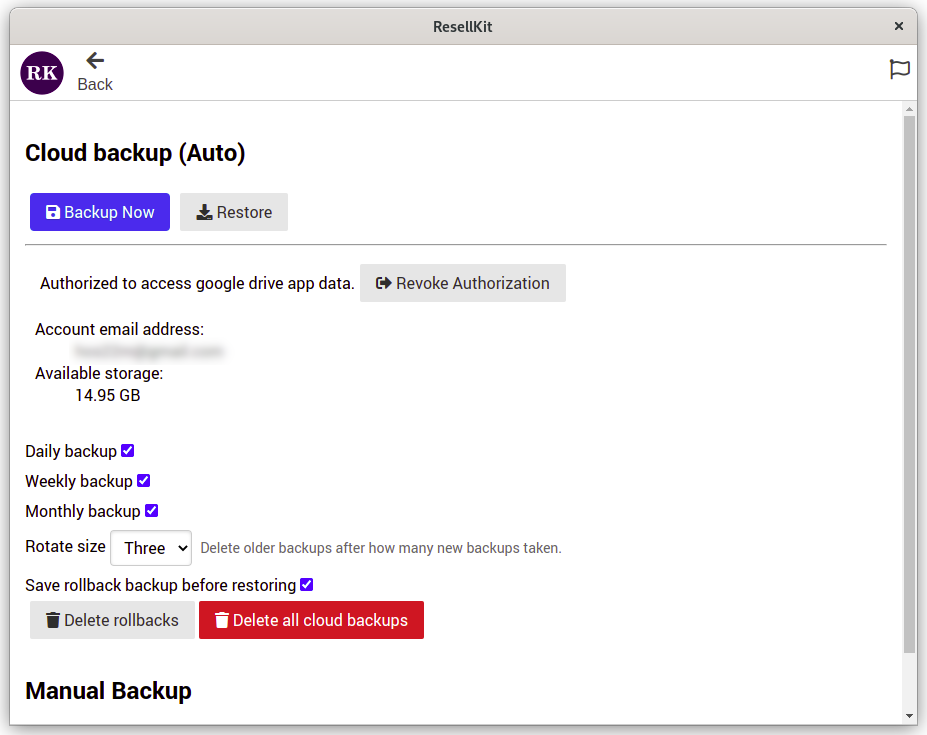
And last but not least is to enable the cloud backup feature. Since resellkit.app DOES NOT STORE your store's data on their servers. And if you lose access or change computers. You may not be able to recover your data. The cloud backup will automatically take daily backups from your stores with no need for daily maintenance.
This is basically a free service, By using the free space google drive provides to their users. All you need to do is to authorize access to google drive for the app.
The app will not have access to any of your files on google drive. It'll only have access to the backup files on ResellKit's app-data.
Open up the Manage Stores page. By clicking on the store icon at top right. And click on Manage Backup.
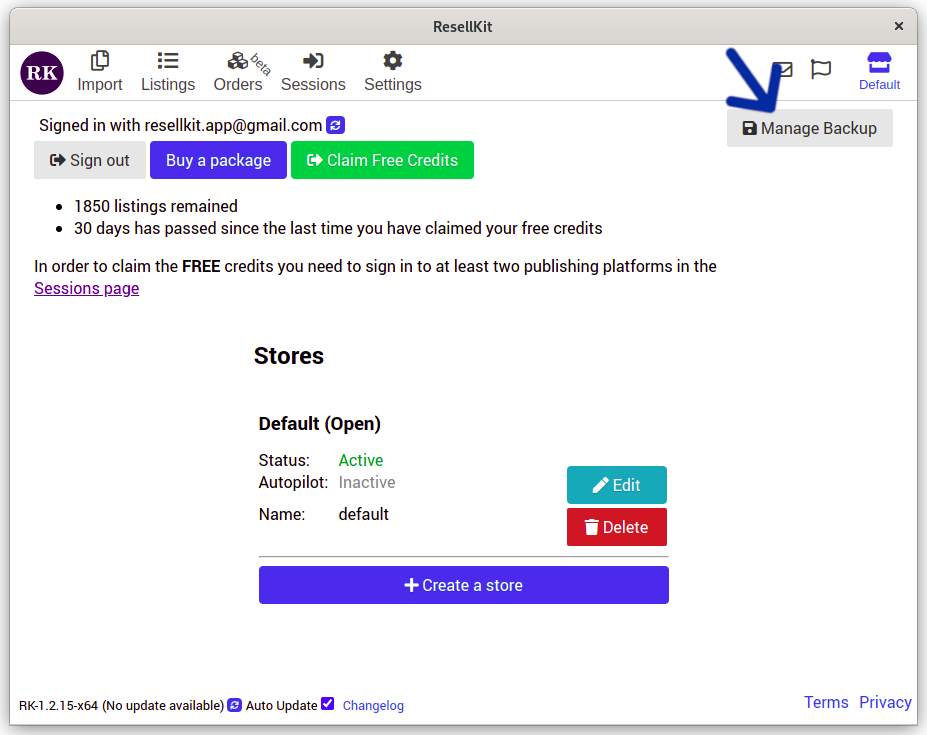
And then click on the "Authorize backups on google drive", The app should open the authorization webpage on your browser. Its status will get updated once it's authorized.
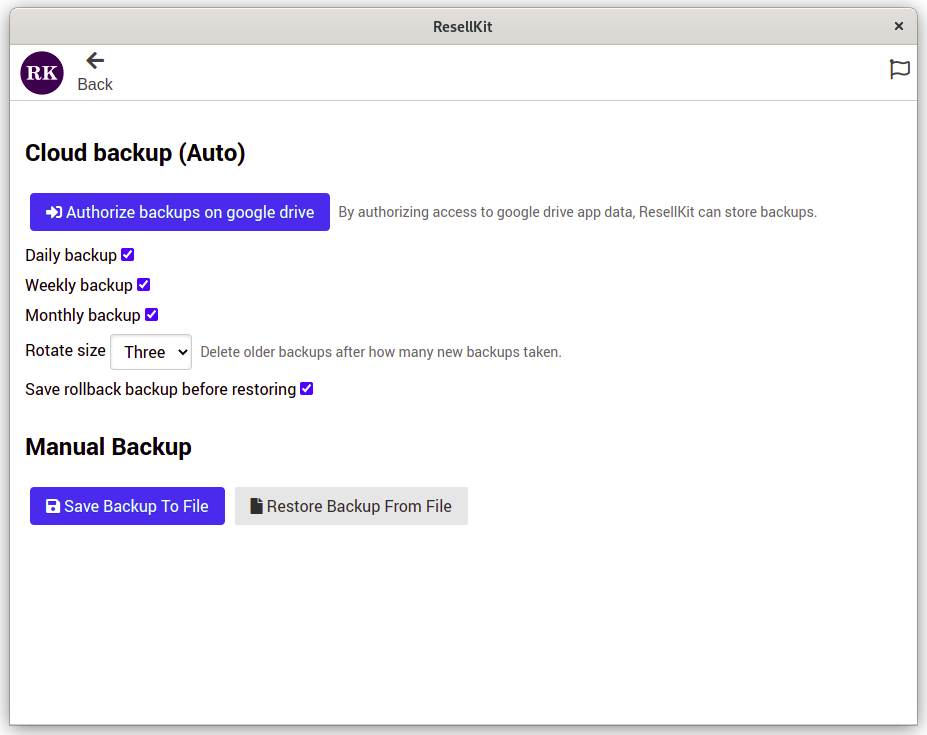
That's it, From now on the app should take backups automatically. You can leave the rest of the settings as is.
Stock photos are from:
- Image by cookie_studio on Freepik
- Image by mrsiraphol on Freepik
- Image by senivpetro on Freepik